Best Display for Bluebeam
Run Bluebeam Better on
Large Touchscreens
Experience Bluebeam on Volanti’s 4K touchscreen workflow displays for drawing reviews, RFIs, punch lists, and field collaboration.
Book an Online Demo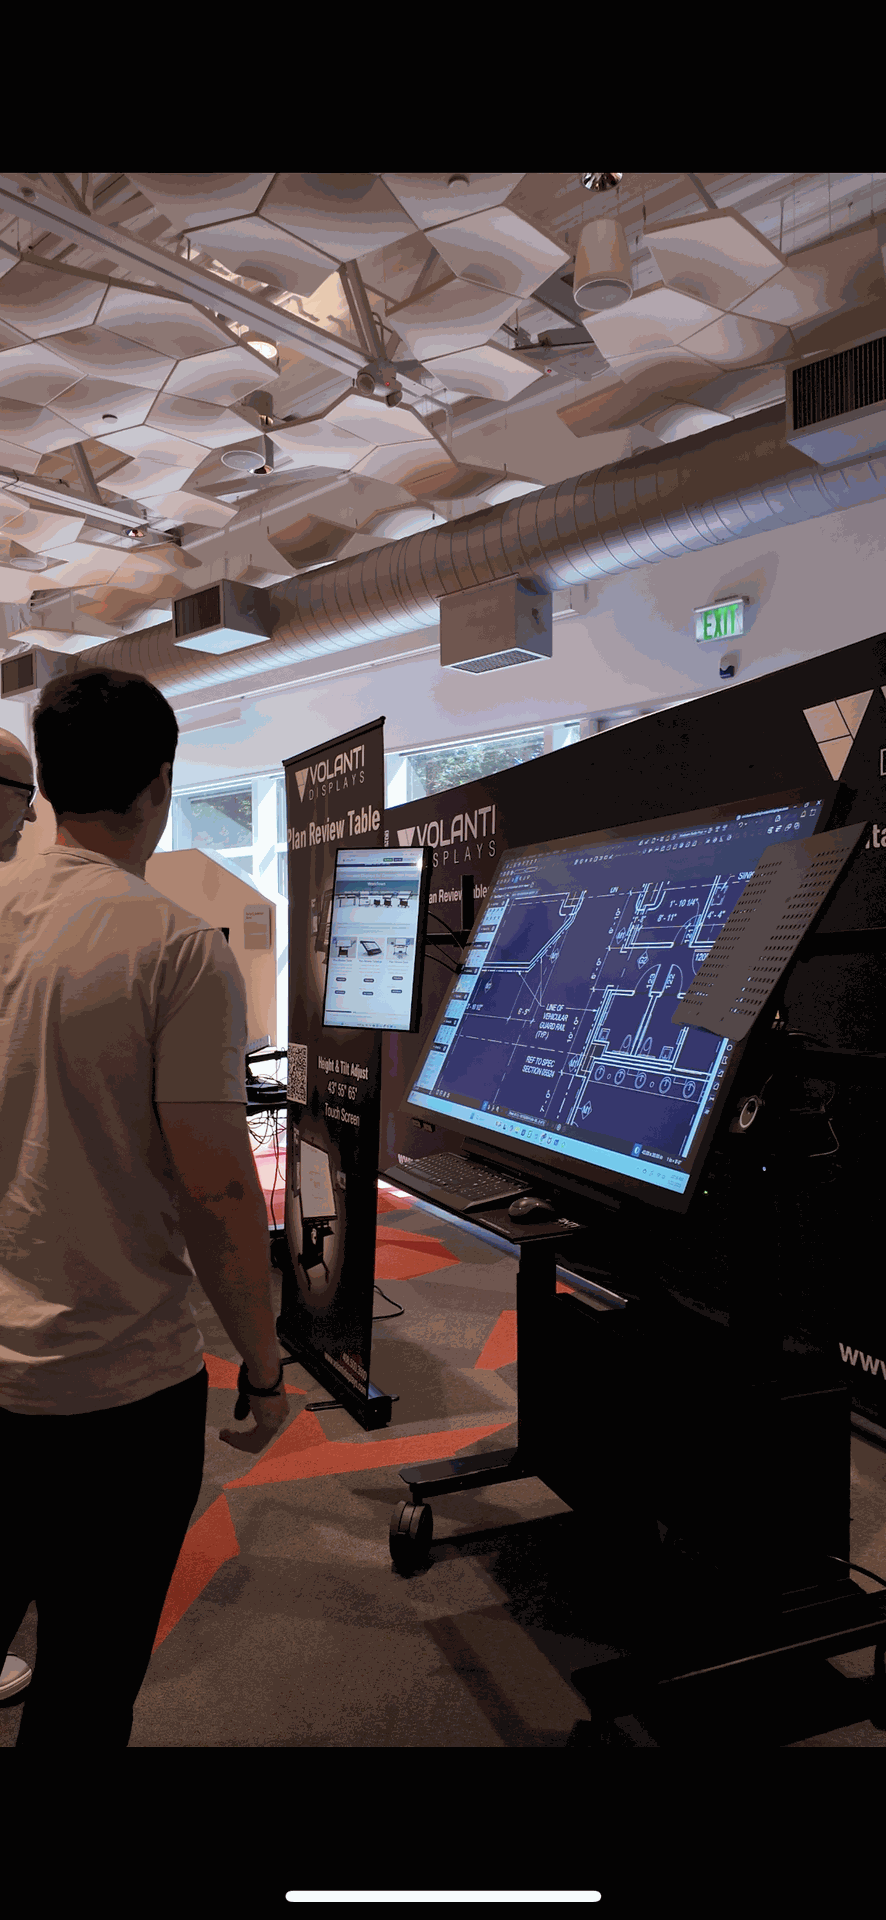
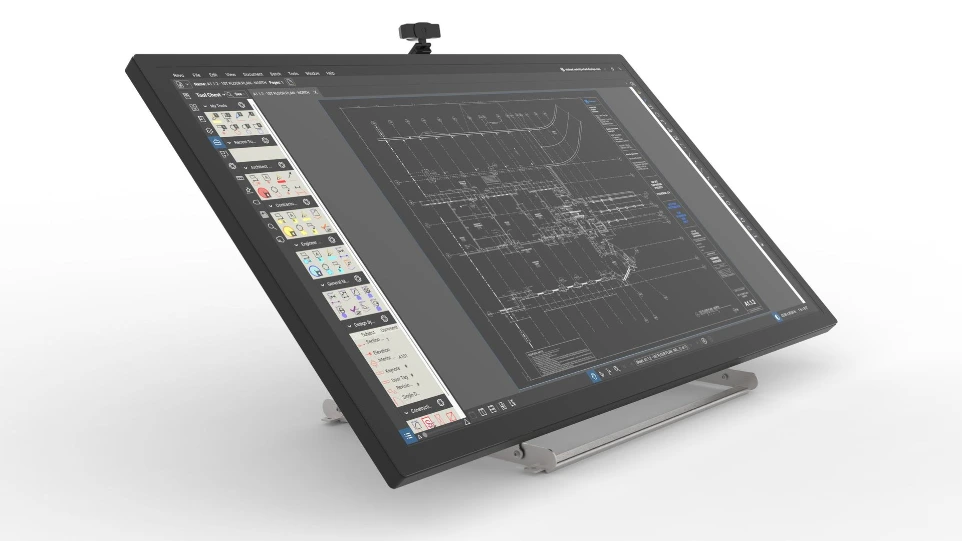
The Best Way to Use Bluebeam
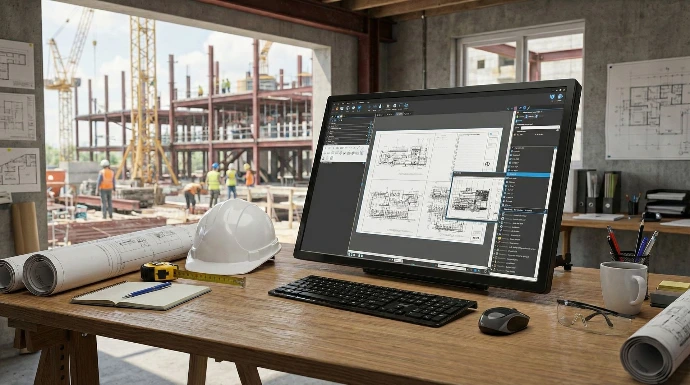
Volanti touchscreen displays enable your Bluebeam workflows in the office, trailer, or field. Access, review, and interact with your projects on the large screen in full detail without the limitations of a small laptop or paper sets.
✔️ Full Sheet View
Display entire drawings, RFIs, punch lists, and more on a 32 inch, 43 inch, 55 inch, or 65 inch 4K touchscreen.
✔️ Plug and Play
Works with Windows 10 and 11. No drivers or calibration needed.
✔️ Ergonomic Tilt and Height Adjustment
Designed for comfort during long sessions. Set the display for personal use, team collaboration or presentation. It adjusts from vertical to flat and is height adjustable.
✔️ Collaborative Ready
Ideal for meetings, takeoffs, and field coordination.
✔️ Precision Stylus and Palm Rejection
Mark up and measure in Bluebeam with a high level of accuracy. The high resolution display and direct optical bonding give fine pitch control.
Bluebeam Optimized Workflow
Volanti displays are an ideal Bluebeam Revu touchscreen. Optimize your workflow, view plans in full detail, mark up with precision, and collaborate faster whether you are in the office or on the jobsite.
See How it Works
Built for construction workflows, Volanti displays let you open Bluebeam Revu instantly, mark up with precision, and keep your projects moving. No setup. No delays. Just plug in and start working smarter.
Find the Right Display for Your Workflow
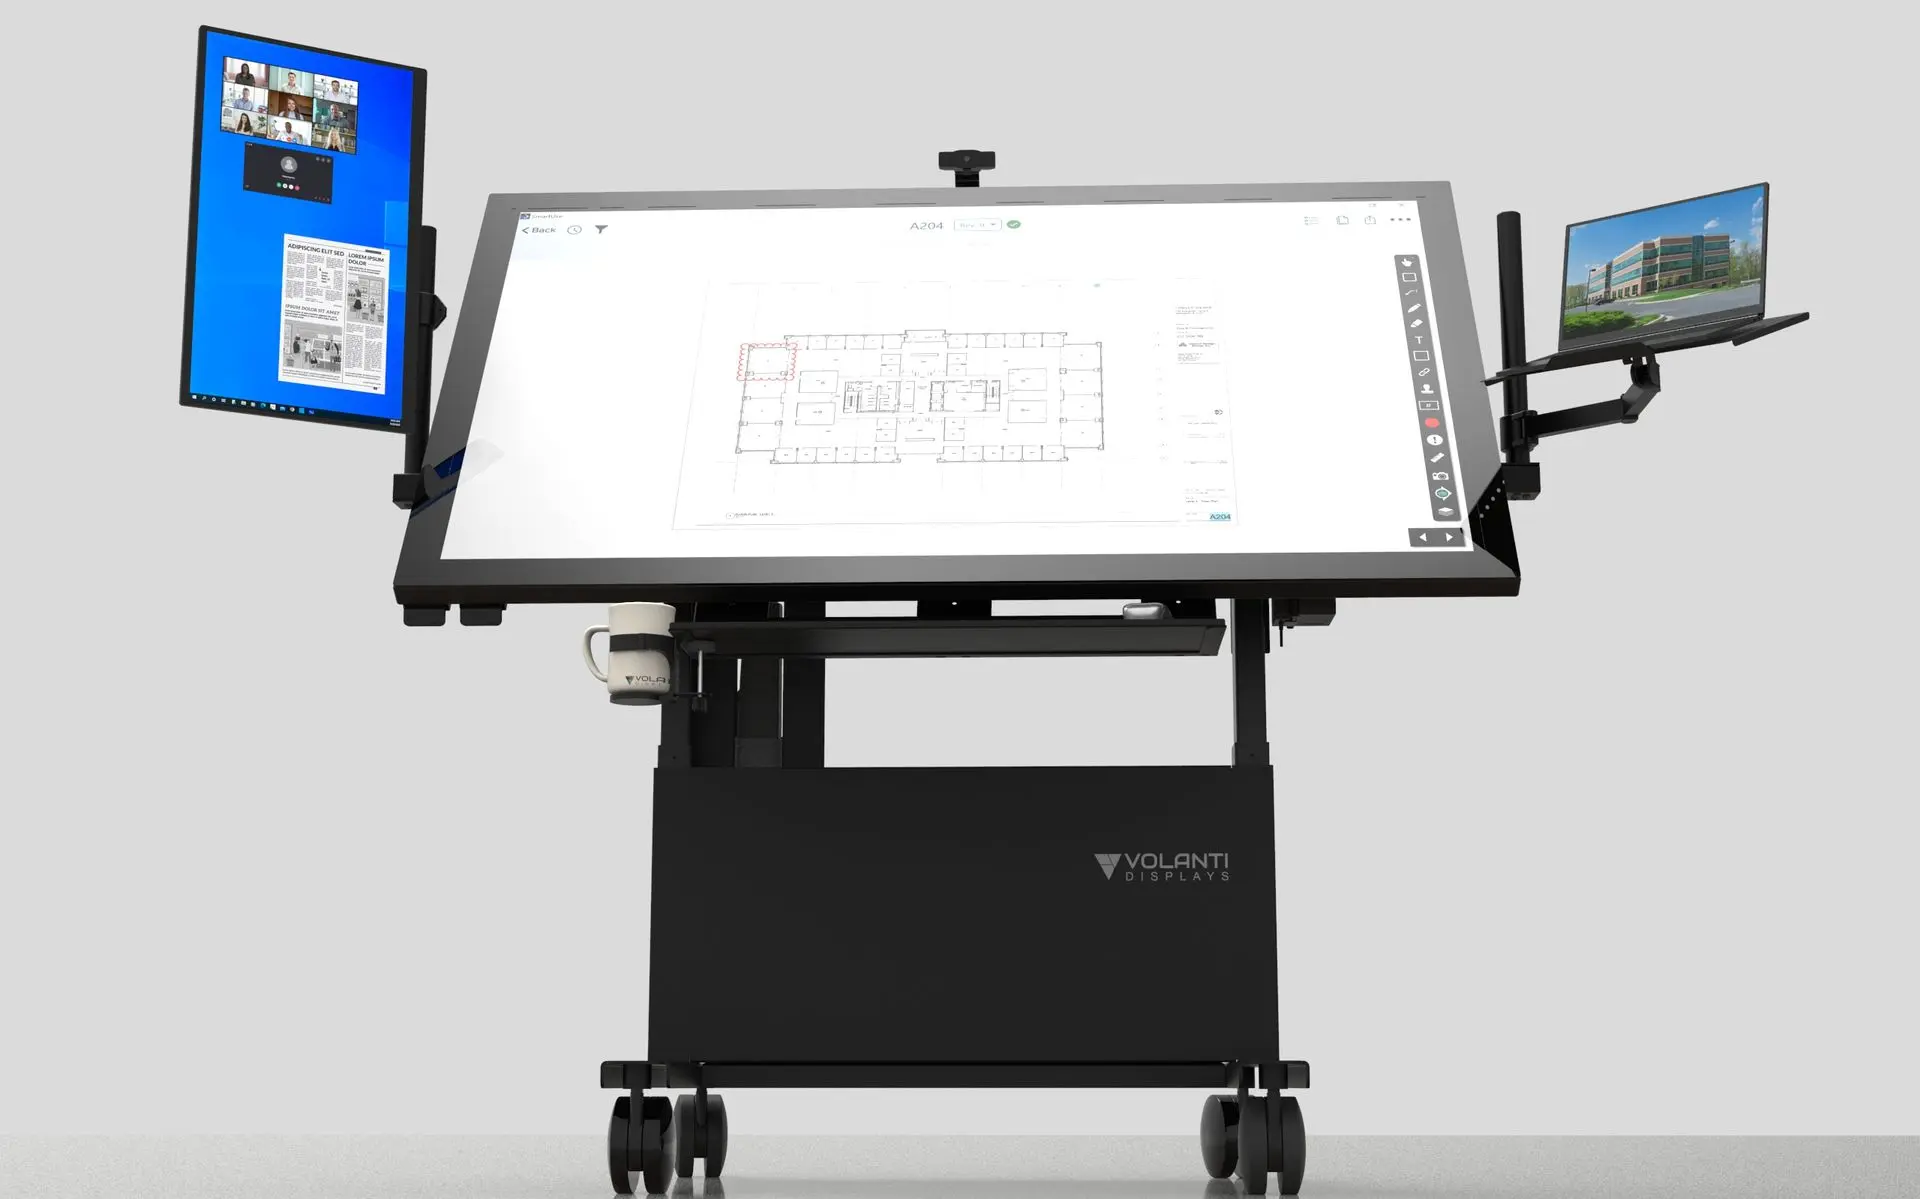
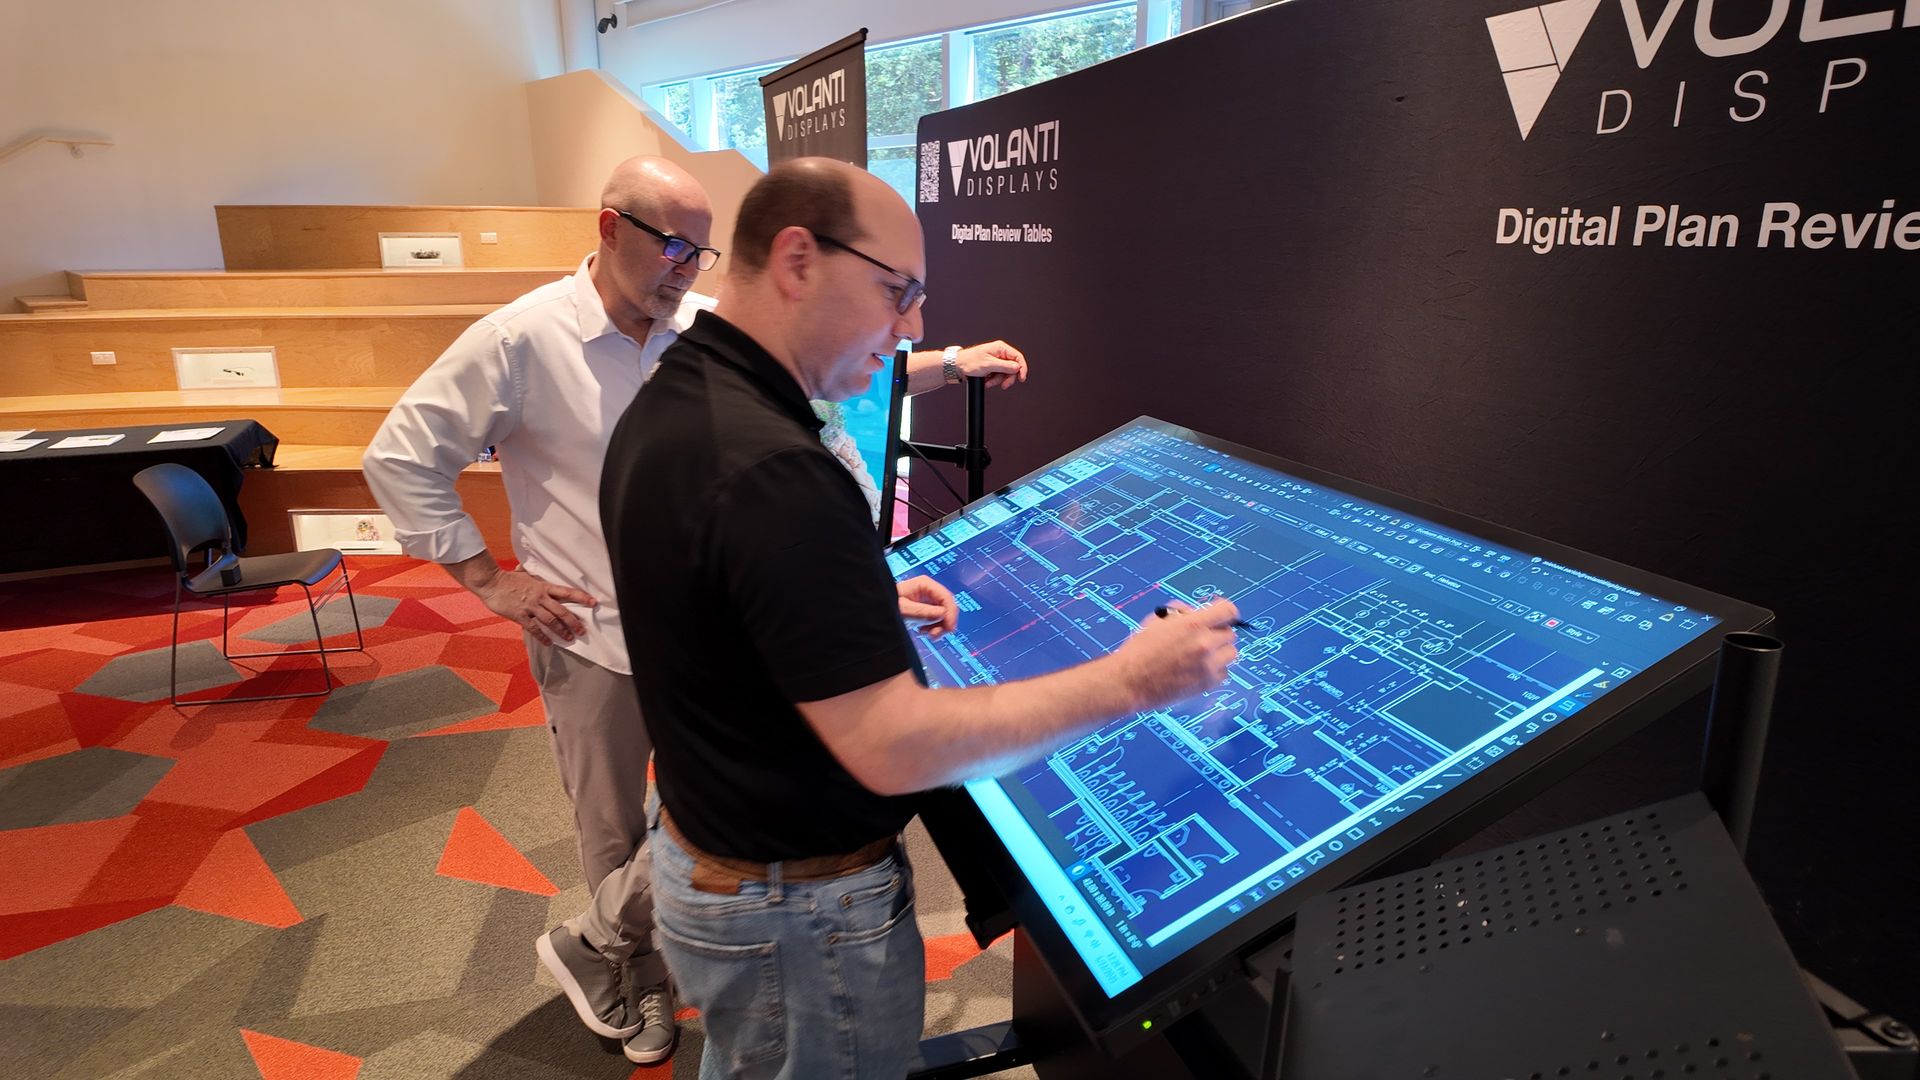
Plan Review Table
Designed for plan reviews: tilt, touch, and see it all. Accessory options.
Plan Review Tabletop
Compact and versatile: perfect for adding a large touchscreen display to existing desks and tables.
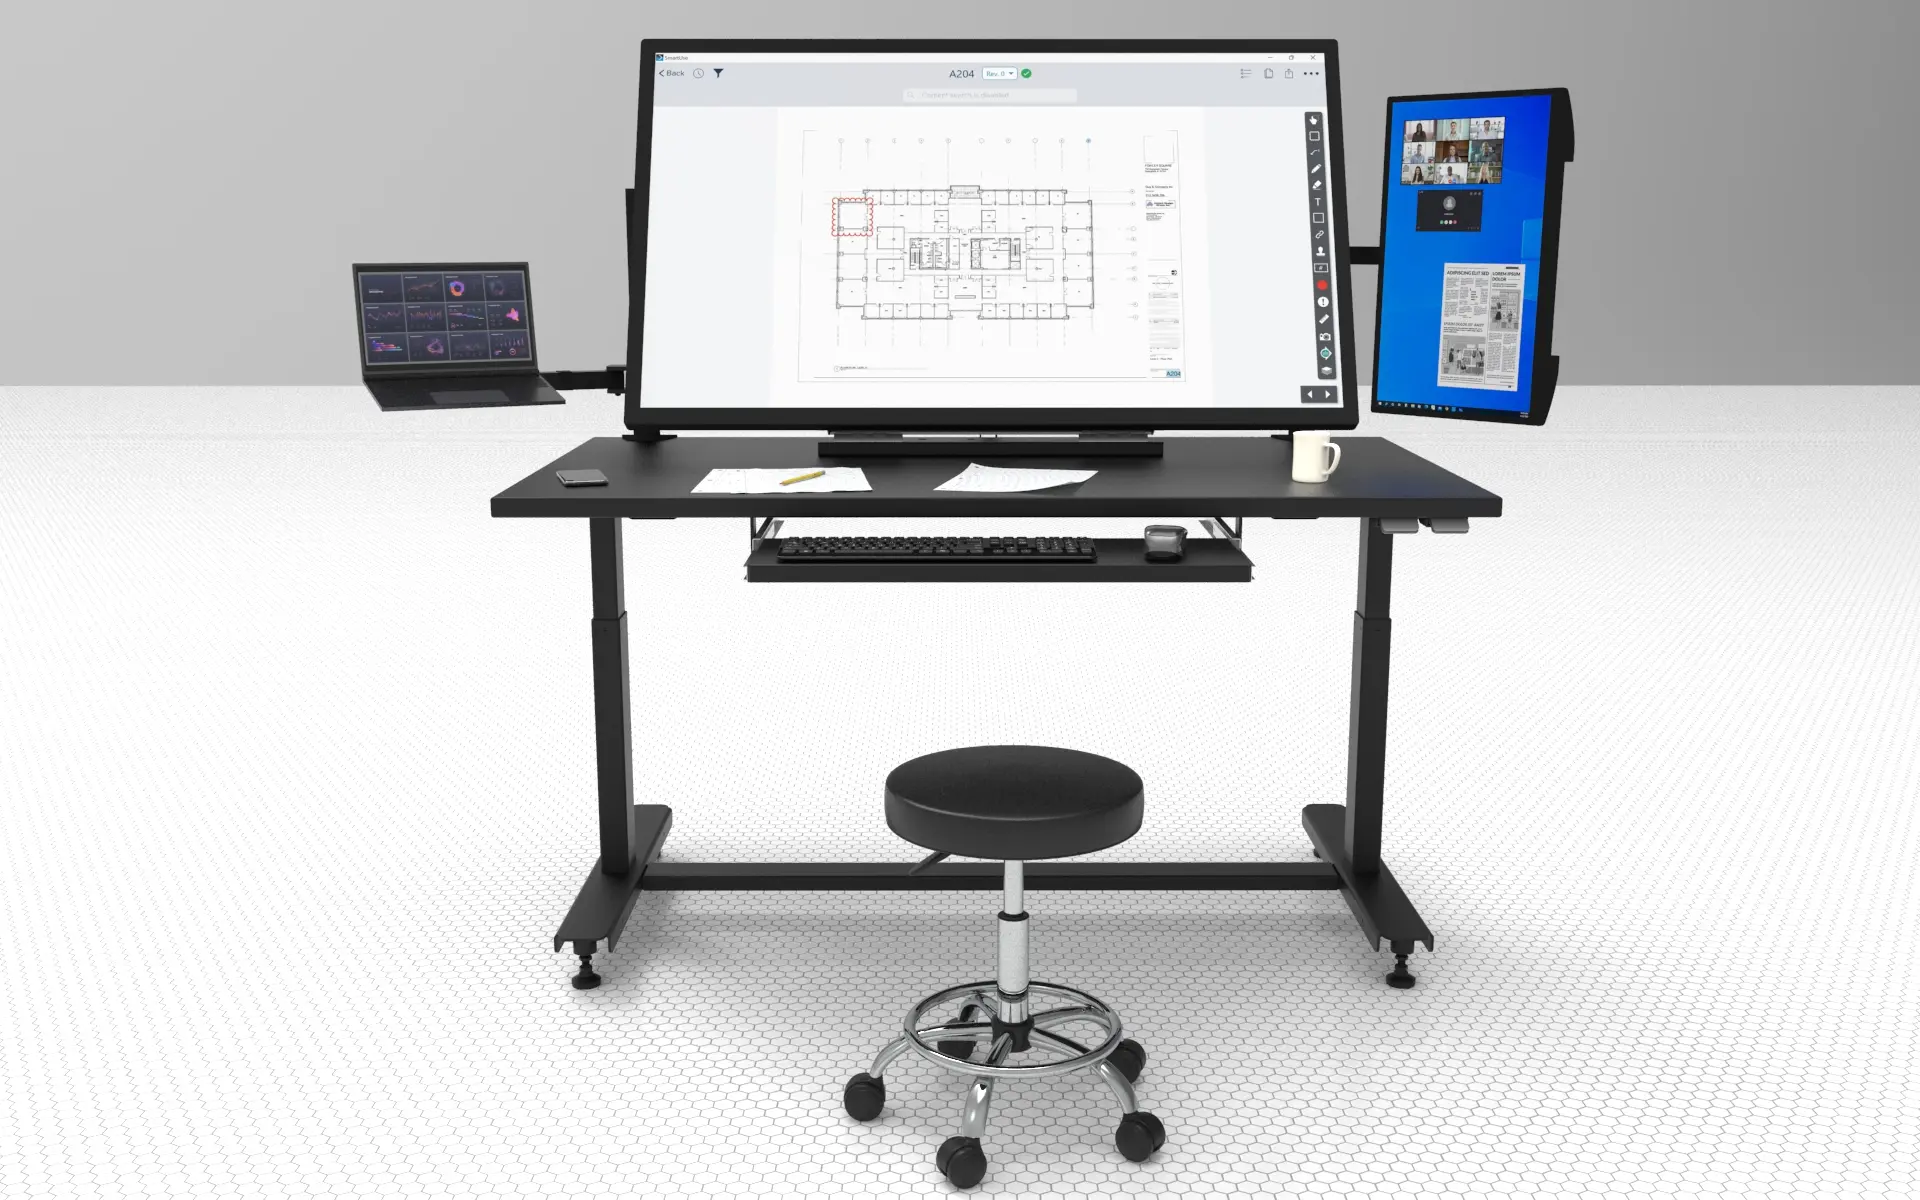
Plan Review Desk
Versatile sit-stand desk with ample space for plan reviews. Accessory options.
Frequently Asked Questions - FAQ
Yes - very well. That is, at least we can say Bluebeam works very well with Volanti touchscreens. We optimize the assembly process so there is the minimum of distance from the surface of display to the image (a process called direct optical bonding), resulting in a clear and accurate touchscreen experience.
Yes - Volanti offers a rechargeable active stylus that works great with Bluebeam, enabling the best in class functionality.
There isn’t a single “ideal” size, because the best choice depends on how and where the display will be used. Larger screens help when viewing full sheets or collaborating with a team, while smaller sizes fit better on desks or in tight spaces. The right size comes down to workflow, available space, and budget.
A 4K screen makes a meaningful difference. Bluebeam drawings contain fine detail, and on a lower-resolution display such as Full HD you will see visible pixels and lose clarity when zoomed out. For plan review workflows, 4K is the preferred and most effective resolution.
Volanti vs TVs / Other Touchscreens for Bluebeam
Purpose-built for plan review
Volanti displays are designed specifically for construction drawings, whereas TVs and generic touchscreens are built for entertainment or office use.
True 4K clarity for fine detail
Bluebeam drawings rely on detail and line accuracy; the 4K display's higher resolution keeps things sharp. On Full HD or lower-resolution displays, pixelation is noticeable.
Optical bonding for precise markups
Many touchscreens and TV add-ons have an air gap, which causes parallax — the touch point doesn’t line up with your stylus. Volanti eliminates the air gap by directly optically bonding the cover glass to the LCD panel.
Low-lag touch input
Consumer displays often introduce input delay. For measuring, calibrating scale, or marking RFIs, responsiveness matters. Volanti uses low-latency display electronics, just 12ms, and fine-tunes the projected capacitive (PCAP) touch to maximize responsiveness and reduce latency.
Ergonomics for real work
Tilt through 90 degrees from flat to vertical, with height adjustment, and stylus support with palm rejection make long sessions practical — features not typically found on TVs or general-purpose touchscreens.
Tag an RFI in Bluebeam and Sync the Whole Crew
The video outlines a quick 5-step process for generating an RFI directly from your drawings:
Select the Cloud+ Tool: Navigate to your tools and select Markup > Cloud+ [00:07].
Highlight the Issue: Draw a cloud around the specific area on the plan you need to address, press Enter, and type your initial note (e.g., "move the stall") [00:18].
Snapshot the Area: Go to Edit > Snapshot and select the area you just marked up [00:31].
Transfer to Template: Open a new PDF using your RFI template, then Paste the snapshot into the document [00:37].
Finalize and Share: Add any remaining notes or details to the RFI form and share it with your team [00:50].
Key Takeaways
Visual Context: The workflow emphasizes carrying visual context (the plan snapshot) directly into the formal RFI document, reducing ambiguity.
Cloud+ Efficiency: Using the Cloud+ tool allows you to create the shape and the text callout in a single action, speeding up the markup process.
Template Integration: The process relies on having pre-loaded RFI templates in Bluebeam ("new PDF from template") to quickly standardize the output.
Common Pitfalls
Ensure the Snapshot captures enough surrounding context so the location on the plan is clear.
Remember to hit Enter after drawing the cloud to trigger the text box input [00:18].
Lock Accurate Scale in Bluebeam in 45 Seconds
The video outlines a quick 5-step process to calibrate Bluebeam for your drawings:
Access Measurement Tools: Navigate to the top menu, select Tools, then Measure, and click Set Scale [00:07].
Initiate Calibration: In the dialog box that appears, click the Calibrate button [00:07].
Define the Distance: Select your first point on the drawing, then tap the second point to define a known distance [00:19].
Enter Measurements: A dialog will pop up; type in the actual physical distance between those two points (e.g., 17 ft) [00:19].
Apply and Verify: Click Apply Scale. You can verify the calibration by checking the scale settings displayed at the bottom of the screen [00:26].
Key Takeaways
Speed: The process is designed to be extremely fast, allowing users to calibrate a large format touchscreen in under a minute.
Touch Interface: The workflow utilizes the touchscreen capability ("grab one touch point") to quickly define measurement spans without a mouse.
Immediate Verification: The interface updates instantly, showing the new calibrated scale at the bottom of the window for confirmation.
Common Pitfalls
- Short Calibration Distance: Picking two points that are too close together can lead to less accurate scaling across the entire drawing. It is better to pick the longest known dimension available.
- Incorrect Input: Typographical errors when entering the known distance (e.g., typing 17 inches instead of 17 feet) will skew all subsequent measurements.
Capture Room Square-Footage & Export to CSV
The video outlines a quick process to export square footage from Bluebeam drawings:
3–6 Step Summary
Select the Measurement Tool: Choose the Area/Square Footage tool from the toolbar [00:07].
Define Areas: Tap or click to select the specific rooms or zones you want to measure (e.g., circulation, restrooms, concessions) [00:07].
Verify Measurements: Confirm that the measurements have appeared in the markups list at the bottom of the screen [00:22].
Initiate Export: Click the Share/Summary button located near the markups list [00:22].
Select Format and Customize: Choose your desired output format (CSV or PDF) and filter the columns to include only the data you need (e.g., labels, totals) [00:29].
Finalize Export: Click OK to generate the final document [00:35].
Key Takeaways
Batch Selection: You can measure multiple distinct areas (like different rooms) one after another before exporting, and they will all be compiled into a single summary [00:07].
Customizable Data: The export function allows you to edit columns, meaning you can strip out unnecessary metadata and focus solely on the metrics that matter for your report [00:35].
Format Flexibility: The tool supports both CSV (for spreadsheets) and PDF (for formal reports) exports directly from the interface [00:29].
Common Pitfalls
Incomplete Selection: Failing to verify that all intended rooms are highlighted before clicking export may result in missing data.
Column Overload: Not filtering the columns during the export step can lead to a cluttered report full of irrelevant system data (like Author, Date, etc.) instead of just the area totals.
Bluebeam Link
Visit the Bluebeam website for more information about Bluebeam software: Bluebeam